Welcome to the Bassett crib assembly guide. This guide provides step-by-step instructions to help you set up your crib safely and correctly. Always follow the manufacturer’s instructions for safety and a sturdy structure. Ensure all parts are securely fastened and meet safety standards. Your careful attention will provide a safe and comfortable environment for your baby.
Overview of Bassett Cribs
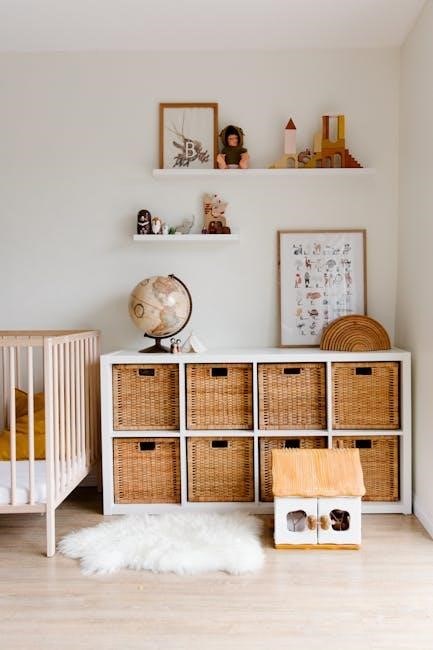
Bassett cribs are renowned for their exceptional quality, durability, and safety. With over 45 years of experience in crafting baby furniture, Bassett offers a wide range of models, including the popular Southampton 4-in-1 crib. These cribs are designed to grow with your child, converting from a crib to a toddler bed, day bed, and even a full-size bed. Bassett cribs are built with sturdy materials and adhere to strict safety standards, ensuring a secure environment for your baby. Their designs blend style and functionality, making them a favorite among parents. Whether you’re looking for classic elegance or modern aesthetics, Bassett cribs provide a reliable and comfortable solution for your nursery.
Safety Precautions and Guidelines
Always read and follow the assembly instructions carefully. Use the provided tools and ensure all parts are complete and undamaged. Avoid using soft bedding or loose items inside the crib to prevent suffocation risks. Tighten all bolts and fasteners securely to ensure stability and safety for your baby.
Essential Safety Tips
When assembling your Bassett crib, prioritize safety to ensure a secure environment for your baby. Always read and understand the assembly instructions thoroughly before starting. Use only the tools and hardware provided to avoid compromising the crib’s integrity. Inspect all parts for damage or defects; if any are found, contact Bassett customer support immediately. Avoid using soft bedding or loose items inside the crib, as they can pose suffocation risks. Ensure all bolts and fasteners are tightened securely to prevent instability. Never leave tools or small parts within your baby’s reach during assembly. Following these tips will help create a safe and sturdy crib for your child.
Recommended Tools
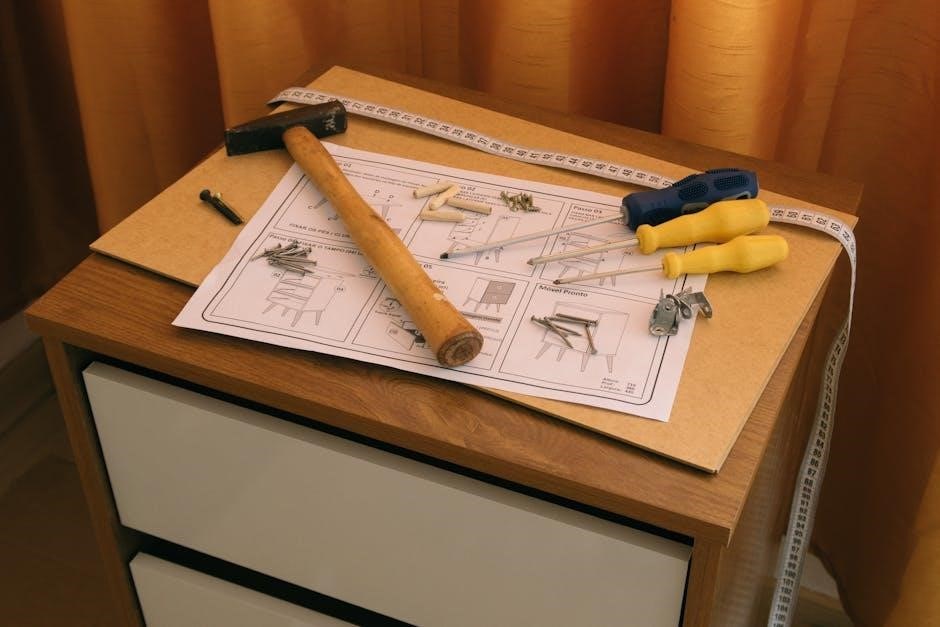
To ensure a smooth and safe assembly of your Bassett crib, gather the necessary tools beforehand. An Allen key is typically included in the package, as it is essential for securing bolts and fasteners. You may also need a flathead screwdriver for additional adjustments, though it is not always provided. Avoid using power tools or non-recommended hardware, as this could damage the crib or compromise its stability. Always refer to the assembly instructions for a complete list of required tools. Having everything prepared will streamline the process and help you build a secure and durable crib for your baby.
Organizing Parts
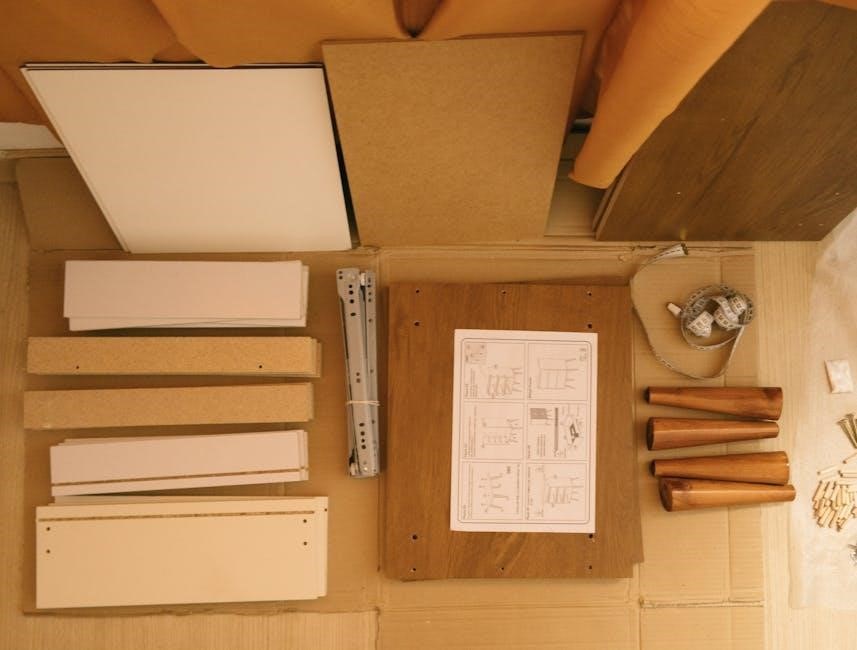
Before starting the assembly, carefully unpack and organize all components of your Bassett crib. Begin by categorizing parts into hardware (bolts, screws, Allen keys) and structural elements (panels, frames, mattress support). Use the instruction manual to identify each piece and ensure nothing is missing. Lay out larger components like the crib sides and base in a logical order based on the assembly sequence. Keep tools and hardware within easy reach to maintain efficiency. Labeling or grouping parts in containers can help prevent misplacement. Double-check the hardware bag against the manual’s checklist to confirm all items are accounted for. A well-organized workspace will streamline the assembly process and reduce the risk of delays or errors.

Step-by-Step Assembly Process

Follow the Bassett crib assembly instructions methodically, starting with the frame, then attaching hardware, and finally securing the mattress support. Ensure each step is completed accurately for stability and safety.
Assembling the Crib Frame

Begin by carefully unpacking all crib components and verifying the integrity of each part. Lay the crib frame on a flat, stable surface to ensure proper alignment. Using the provided Allen key, attach the side rails to the headboard and footboard securely. Tighten all bolts clockwise until snug, but avoid over-tightening. Ensure the frame is level and sturdy by checking each connection. Refer to the assembly manual for specific torque settings and bolt locations. Double-check that all safety clips and latch mechanisms are properly secured to prevent accidental disassembly. If unsure, consult the Bassett crib assembly instructions or contact customer support for guidance. A second person can assist with aligning heavier parts during this step.
Attaching Hardware and Mattress Support
Once the crib frame is assembled, focus on attaching the hardware and mattress support system. Use the Allen key to secure the bolts for the mattress support brackets, ensuring they are tightly fastened. Avoid over-tightening, as this may damage the crib’s structure. Locate the mattress support platform and align it with the pre-drilled holes in the crib frame. Use the provided screws to attach it firmly. Ensure the mattress support is level and sturdy by checking its alignment with the crib sides; Tighten all connections clockwise until snug, then loosen bolts 1/2 to 3/4 of a turn for proper tension. Double-check that the mattress support is securely attached to prevent any movement. This step is critical for your baby’s safety and comfort, so refer to the Bassett crib assembly instructions for precise guidance.
Final Touches
After assembling the crib frame and attaching the hardware and mattress support, complete the final touches to ensure everything is secure and properly aligned. Tighten all bolts and screws to prevent any movement or instability. Place the mattress inside the crib, ensuring it fits snugly and aligns with the mattress support. Double-check that all hardware is firmly attached and that there are no loose parts. If your crib has additional features, such as a drawer, attach it according to the instructions. Finally, inspect the entire crib to ensure it meets safety standards and is stable. Your Bassett crib is now ready for use, providing a safe and comfortable space for your baby to sleep.

Troubleshooting Common Issues
Check for loose bolts, missing parts, or misaligned pieces. Refer to the manual for solutions or contact Bassett customer support for assistance with unresolved issues.
Identifying and Resolving Problems
During assembly, common issues may arise, such as loose bolts, misaligned pieces, or missing hardware. Start by carefully reviewing the instructions to ensure all parts are correctly identified and placed. If a part is missing or damaged, contact Bassett customer support for assistance. For loose bolts, tighten them firmly but avoid over-tightening, which could damage the crib. If pieces do not align properly, double-check the assembly sequence and ensure all brackets and screws are securely fastened. Refer to the manual for specific guidance on resolving these issues. If problems persist, consult Bassett’s support team or visit their website for additional resources. Proper resolution ensures a safe and stable crib for your baby.

Additional Resources and Support
For further assistance, visit Bassett’s official website or contact their customer support team via phone or email. Additional resources include online manuals, PDF guides, and community forums.
Customer Support and Manuals
For assistance with your Bassett crib assembly, contact Bassett’s customer support team directly via phone or email. They provide detailed guidance and can address specific questions. The official Bassett website offers downloadable PDF manuals for various crib models, ensuring you have accurate instructions. If your crib model’s manual isn’t available online, reach out to their support team for a copy. Additionally, Bassett emphasizes following the provided instructions to ensure safety and proper assembly. Their customer service is committed to helping you create a secure environment for your baby.
Online Communities and Forums
Online communities and forums are valuable resources for Bassett crib assembly; Platforms like YouTube and parenting forums often feature step-by-step videos and user experiences. Many users share tips and tricks for assembling Bassett cribs, offering practical advice and solutions to common challenges. These communities can be especially helpful if you encounter issues not covered in the manual. Additionally, forums allow you to ask specific questions and receive feedback from others who have assembled similar cribs. While these resources are not official, they provide helpful insights and reassurance during the assembly process. Remember to always cross-reference with the official instructions for accuracy and safety.
Successfully assembling your Bassett crib ensures a safe and cozy environment for your baby. Always follow the instructions carefully to guarantee a sturdy and secure structure.
Final Thoughts
Assembling your Bassett crib is a rewarding process that ensures your baby’s safety and comfort. Always prioritize following the provided instructions carefully to avoid mistakes. Double-checking each step and tightening all bolts securely is crucial for stability. If unsure, consulting Bassett’s customer support or online resources can provide clarity. Remember, a properly assembled crib creates a secure environment for your little one to grow. Take pride in this accomplishment, knowing you’ve taken the necessary steps to ensure safety and durability. For any future questions, refer to the user manual or reach out to Bassett’s support team for assistance.