Mineral identification is crucial in geology, involving the study of physical properties like hardness, cleavage, luster, color, and streak․ These properties help distinguish minerals, aiding in geological research and analysis․

Physical Properties of Minerals

Physical properties of minerals are essential for their identification and understanding their composition and structure․ Key properties include hardness, which measures resistance to scratching (e․g․, Mohs scale); cleavage, describing how minerals break; and luster, indicating light reflection․ Color and streak (powder color) are also critical, though color can vary․ Tools like hand lenses, streak plates, and hardness kits are used in labs․ These properties help classify minerals and determine their origin, providing insights into geological processes․ Accurate identification relies on comparing observed traits with known standards, making physical properties fundamental in geology studies and practical applications like mining and materials science․
Hardness, Cleavage, Luster, Color, and Streak Analysis

Hardness, cleavage, luster, color, and streak are primary tools in mineral identification․ Hardness, measured using Mohs’ scale, determines scratch resistance․ Cleavage refers to the pattern in which minerals break․ Luster describes light reflection, such as metallic or glassy․ Color is the visible hue, though it can be misleading, while streak is the color of the powder․ Laboratories use tools like streak plates and hardness kits for precise analysis․ These properties help identify minerals and understand their geological origins․ Accurate analysis requires comparing observations with reference data, making these methods indispensable in geological studies and fieldwork․ This systematic approach ensures reliable mineral classification, essential for both academic and applied geology․
Rock Classification and Analysis

Rock classification involves identifying and categorizing rocks as igneous, sedimentary, or metamorphic based on their formation processes and mineral composition․ Analysis focuses on texture, structure, and chemical properties to determine origin and type․
Igneous, Sedimentary, and Metamorphic Rock Types
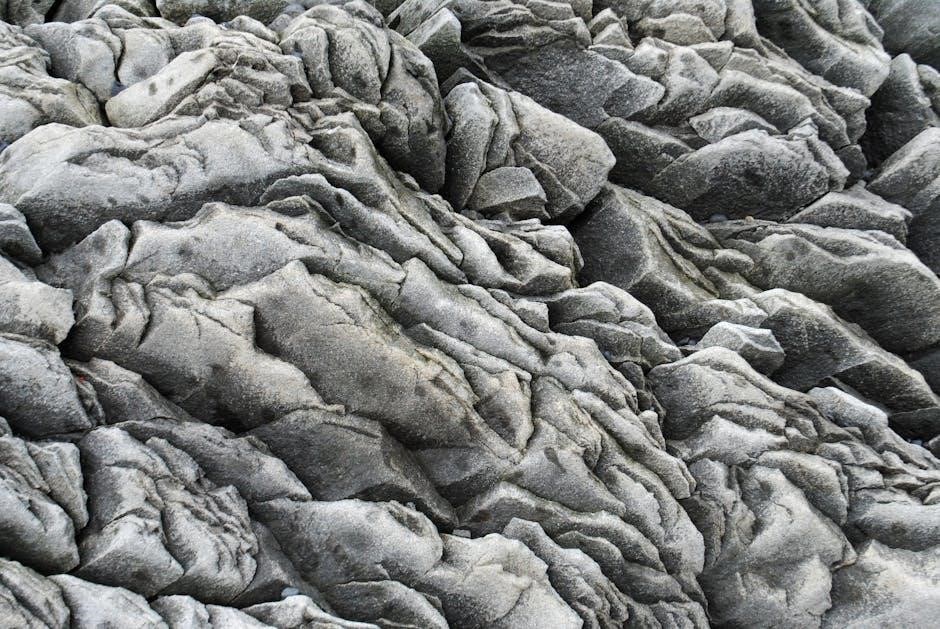
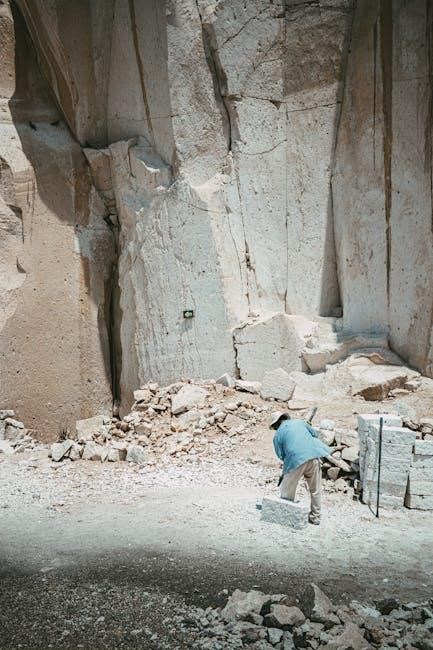
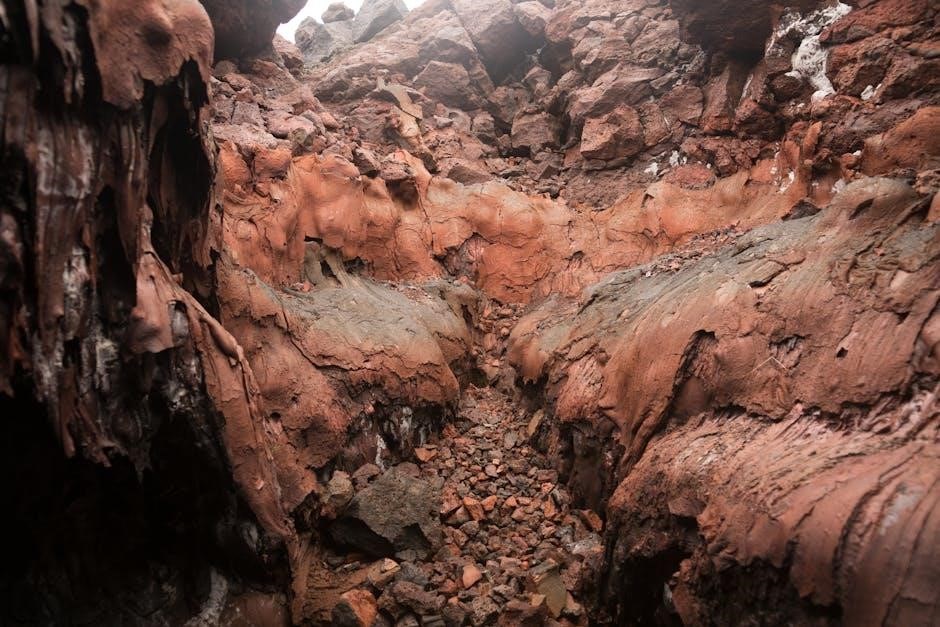
Igneous rocks form from cooled magma or lava, with textures ranging from coarse-grained (intrusive) to fine-grained (extrusive)․ Sedimentary rocks develop from compressed sediments, often containing fossils, and include sandstone and shale․ Metamorphic rocks result from high-pressure and temperature transformations, altering original minerals and textures, creating rocks like marble and slate․ Each type has distinct characteristics and formation processes, essential for laboratory identification and study in geological analysis․
Determining Rock Composition and Texture
Determining rock composition and texture involves analyzing the minerals present and their arrangement․ Igneous rocks are classified by their mineral content and texture, such as phaneritic (coarse-grained) or aphanitic (fine-grained)․ Sedimentary rocks are identified based on their grain size, cementation, and fossil content, with textures ranging from clastic to chemical․ Metamorphic rocks exhibit foliated or non-foliated textures due to high-pressure and temperature processes․ In the lab, tools like a hand lens and acid tests help identify minerals․ Grain size, shape, and orientation are noted to describe texture․ Composition is determined by the abundance and type of minerals․ For example, granite (igneous) has a phaneritic texture, sandstone (sedimentary) is clastic, and marble (metamorphic) is non-foliated․ Accurate classification aids in understanding rock origins and geological processes, essential for mapping and environmental studies․
Geological Maps and Digital Elevation Models
Geological maps and digital elevation models (DEMs) are essential tools for spatial analysis, providing insights into Earth’s surface features․ They integrate spatial and attribute data to visualize topography, landforms, and drainage patterns, aiding in hydrologic and geomorphic studies․

Understanding Topographic Maps
Topographic maps are detailed representations of Earth’s surface, showing both natural and human-made features․ They use contour lines to depict elevation changes, with closer lines indicating steeper slopes and wider spacing representing flatter areas․ These maps also include a scale, legend, and symbols to interpret features like rivers, roads, and vegetation․ By analyzing contour lines, students can identify landforms such as hills, valleys, and plateaus․ Understanding topographic maps is essential for geological studies, as they provide insights into terrain, drainage patterns, and erosion processes․ They are widely used in hydrology, geology, and environmental science to visualize and analyze the Earth’s surface․ By interpreting these maps, students can better understand the physical landscape and its geological features, making them a fundamental tool in physical geology labs and fieldwork․
Interpreting Digital Elevation Models (DEMs)
Digital Elevation Models (DEMs) are digital representations of Earth’s topography, providing precise elevation data at regular intervals․ They are used to analyze terrain characteristics such as slope, aspect, and landforms; In a physical geology lab, students learn to interpret DEMs to visualize and understand geological features․ These models are created using remote sensing, GPS, or photogrammetry, offering high-resolution data for detailed analysis․ By examining DEMs, geologists can identify patterns like drainage systems, fault lines, and volcanic features․ DEMs are also integrated with GIS software for advanced spatial analysis, enabling the creation of 3D visualizations and contour maps․ This tool is invaluable for studying erosion, sediment transport, and landform evolution․ Understanding DEMs enhances geological mapping skills and provides insights into Earth’s surface processes, making them a key component of modern geological research and education;
Lab Safety and Equipment
Lab safety is critical in geological labs․ Essential equipment includes safety glasses, gloves, and lab coats․ Proper gear ensures protection during experiments and handling of geological specimens and tools․
Personal Protective Equipment (PPE)
Personal Protective Equipment (PPE) is essential for ensuring safety in geological laboratories․ Common PPE includes safety glasses, gloves, and lab coats, which protect against chemical splashes, sharp edges, and hazardous materials․ Students must wear closed-toe shoes and avoid loose clothing that could pose a hazard․ Safety glasses with side shields are mandatory to prevent eye injuries from flying particles during mineral analysis or equipment use․ Gloves protect hands from cuts, abrasions, and chemical exposure․ Lab coats or aprons should be worn to shield clothing from stains and spills․ Proper PPE ensures compliance with laboratory safety protocols and minimizes risks during hands-on activities․ Always inspect PPE for damage before use and follow specific guidelines for handling geological specimens and equipment․
Lab Tools and Equipment Setup
Proper setup and use of lab tools and equipment are vital for conducting geological analyses․ Essential tools include hand lenses, streak plates, and hardness kits․ Hand lenses provide magnification for examining mineral textures, while streak plates test a mineral’s streak color․ Hardness kits, such as the Mohs scale, determine mineral hardness by scratching surfaces․ Geological hammers and chisels are used for specimen collection and preparation․ Microscopes are employed for detailed mineral structure analysis․ Digital tools, like software for data analysis, complement traditional methods․ Always arrange equipment neatly and ensure it is calibrated before use․ Proper setup ensures efficient and accurate laboratory procedures, while maintaining a clean and organized workspace enhances productivity and safety․ Familiarizing oneself with these tools is crucial for successful laboratory exercises in physical geology․